
The groups feature is an effective way to keep track of portions of your Relationships for communication and mailing purposes. You may have people in your customer list that all work for the same company and you are their preferred lender. You may have a group of friends and family members. By separating them into groups, you can market specifically to that group. The contacts that you put into groups are still under your Relationships tab but this helps you keep track of them.
Quick Tutorial: https://mediacenter.zendesk.com/hc/en-us/articles/115005134014-Groups-Tutorial
How to Add a Group
Click the Relationships Tab
Click “Groups” from the drop down
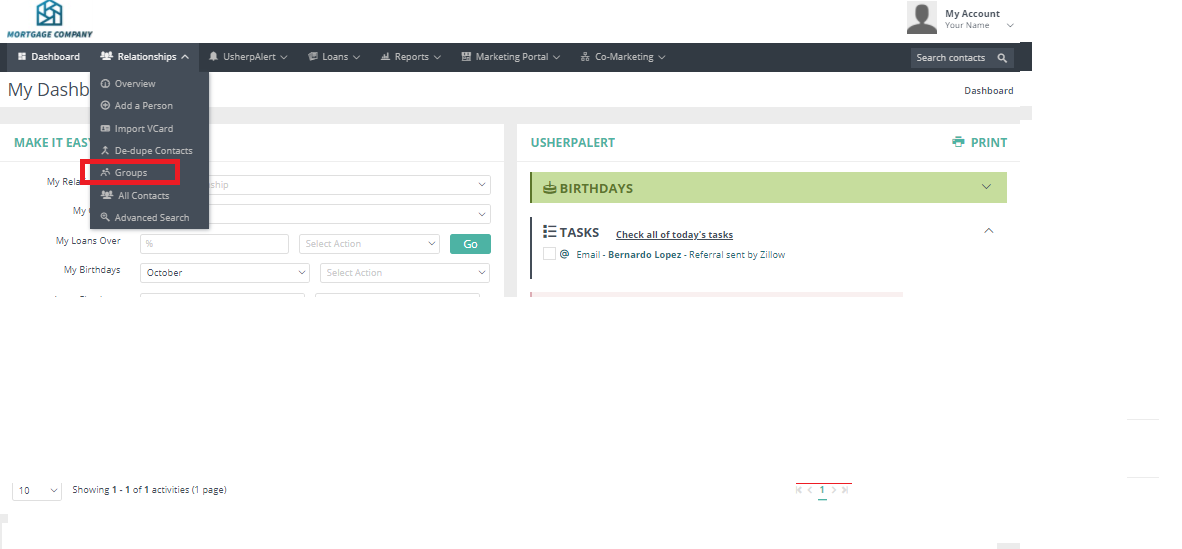
Click “Add Group”
Type in the Name you wish the Group to be called
Click “Save”
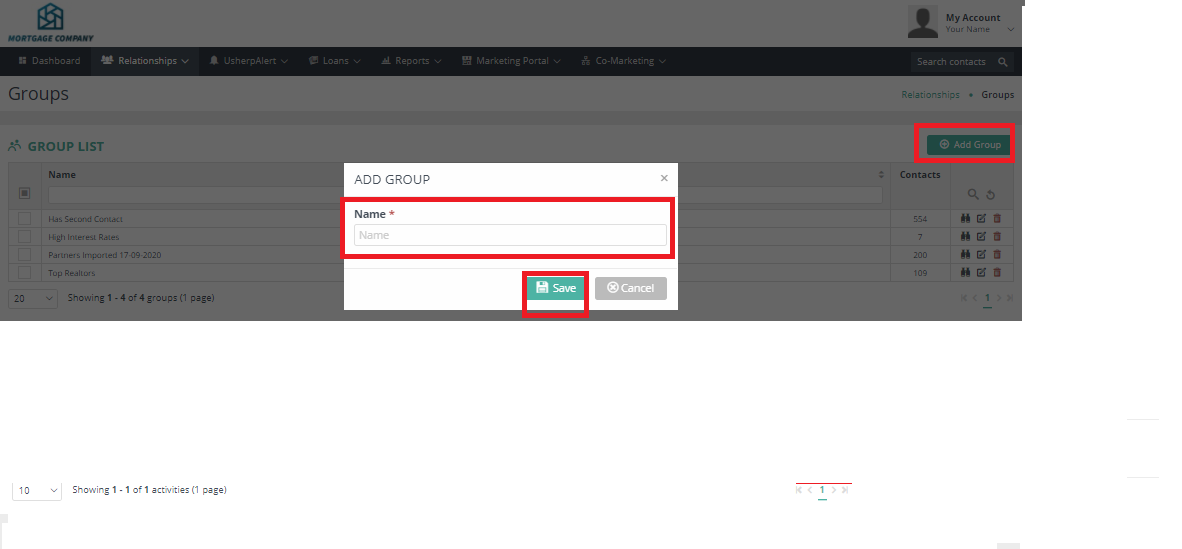
If you have successful added the group a green message will show up at the top of your screen and you will see the group now listed on the “See Groups” page
How to Add a Contact to a Group:
Search for a contact by typing their name in the "Search Contacts" box and clicking on their name, which will bring up their contact record.
From their contact record click on "Groups".
Then click on the arrow next to "Assign Groups"
Check the Box and "Save"
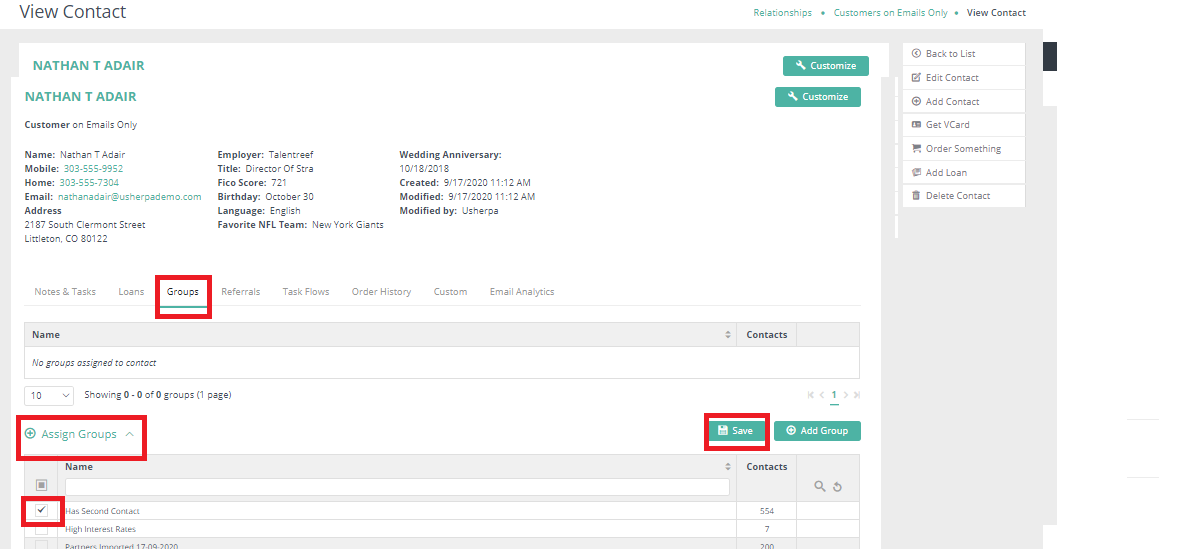
You will see a confirmation notice that your Contact has been added to the group
Comments
0 comments
Article is closed for comments.